
How To Make Your Own Tool Handles

1087 Making Tool Handles Hand Tools Tips And Techniques Woodturning Projects And Techniques Wood Turning Wood Turning Projects Turn Ons

716 Making Custom Tool Handle Hand Tools Tips And Techniques Woodturning Projects And Techniq Wood Turning Projects Wood Turning Essential Woodworking Tools

How To Make Wooden Screw Driver Handles Turn Ons Wood Turning Wood Turning Projects

1087 Making Tool Handles Hand Tools Tips And Techniques Woodturning Projects And Techniques Wood Turning Projects Wood Turning Turn Ons

Handle Making Jig How To Make Tool Handles Youtube Stolyarnye Raboty Instrument Drel

Pin On Workshop Projects

Any type of wood can be used for both parts.
How to make your own tool handles. The design could be improved to make it more attractive or maybe a bit more user friendly but I have decided to. And I provide a pattern for you to make the classic Planet Jr. I just pushed them down with firm pressure and set them aside until the glue dried.
With all of the parts cut out I glued on the standoffs with regular wood glue. Use the tailstock hand crank to feed the drill bit into the handle. It amounts to turning a spindle drilling a hole to accept the tool and then using epoxy to hold it in place.
The inside corners I cut out by drilling a 1 diameter hole in the corners with a forstner bit. Super comfortable and really cheapParts list to make 1 adju. Whatever tools are necessary to get Item 2 into Item 1.
In this episode we look at how to easily transform those tools by making. With as thin a marking device as you can find I prefer an extra fine Sharpie trace out the original handle slabs on the double stacked woodYou only need to do one side and dont worry about the pen marks youll sand them away later. Line up the bottom with the end piece and tap with a hammer to set them.
With your template traced out hog away material either with a band saw a hand saw or the wood cutting wheel on a Dremel. Just glue and nail a 14-by-14-by-6-inch-long strip of wood right down the center of the mallets top. John gives you the basics and youre free to make tools as rudimentary or refined as youd like.
I find that I usually get just a little bit of a bump where the bandsaw blade breaks into the hole. Ive stripped it back to nothing but the essentials and then used screws to fix it all together. In this video I show how to make tool handles easily and without any special or expensive toolsdont forget to like and subscribeIf you liked the video ple.
A Japanese Inspired Puukko And Sheath Knife Handle Making Knife Handles Diy Knife Handle
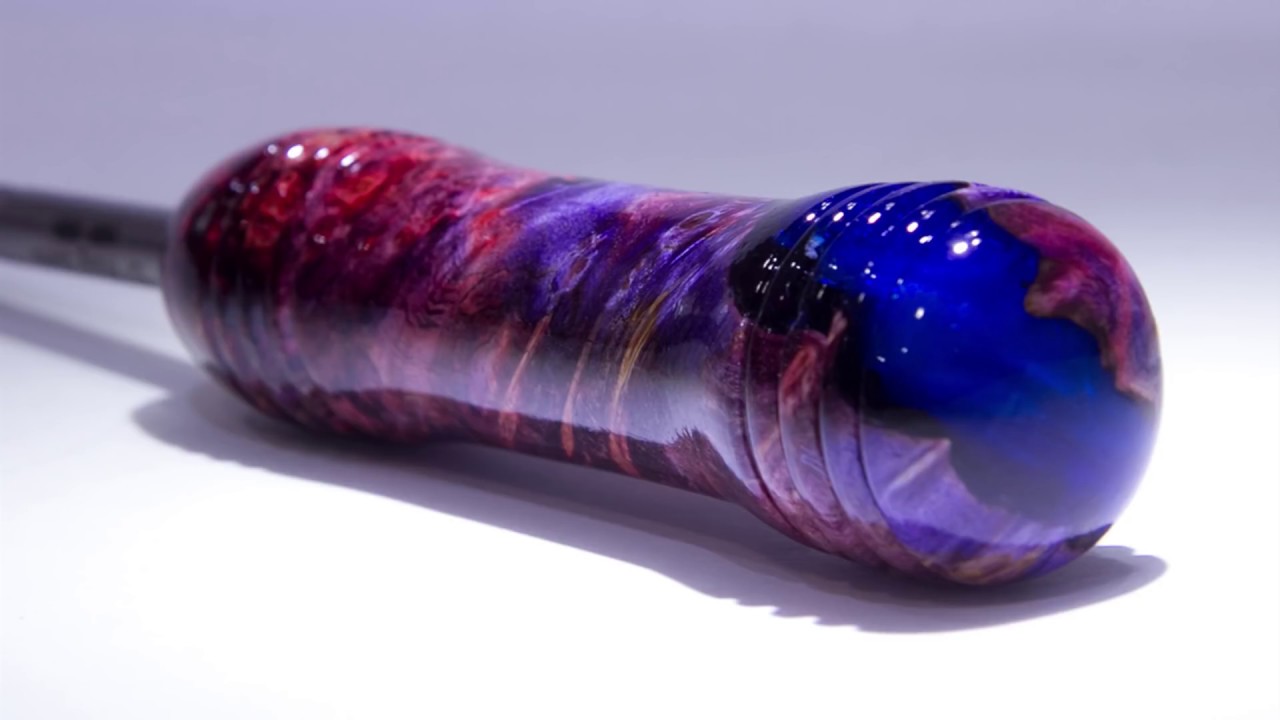
Resin Tool Handle Make Your Own Tool Handle Woodturning Wood Turning Beading Tools Wood Turning Projects

Turners Select Ash Tool Handle Hand Tools Craft Supplies Usa Craft Supplies Usa Wood Turning Woodturning Tools

Multi Use Turning Tool Handles Woodworking Blog Videos Plans How To Wood Turning Turn Ons Wood Turning Projects

Turned Grilling Tool Handles Woodworking Blog Videos Plans How To Grilling Tools Woodworking Woodworking Projects Plans

Diywoodworking Epoxy Resin Stabilized Wood Tool Handles Diy Crafts Stabilized Wood Wood Tools Epoxy

Dread Knot Woodshop Ep04 Lathe Tool Handle Lathe Tools Wood Shop Lathe

Turn Your Own Handle Wood Turning Wood Turning Projects Turn Ons

Pin On Hammer

A Running List Of All Current Known United States Manufacturers Of Hickory Tool Handles We Will Include Links And Note W Axe Handle Woodworking Hand Tools Axe

Pin On Diy

Striking Tool Hickory Wood Replacement Handles Axe Handle Hammer Handle Hammer Handles Woodworking Axe

Make And Take Wooden Handle Screwdriver Woodworking Ideas To Sell Woodworking Projects For Kids Woodworking Projects
