
How To Make My Own Wood Burning Tool
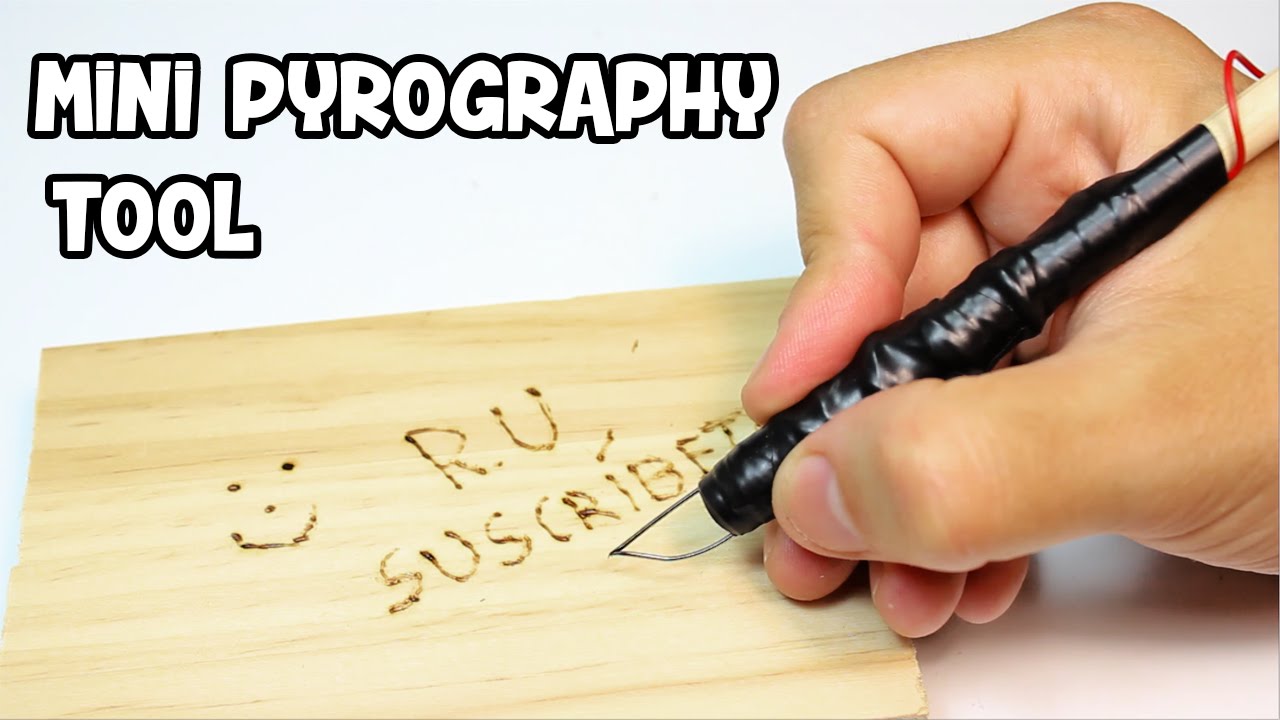
How To Make A Mini Pyrography Pen Woodburning Tool Youtube Wood Burning Tool Wood Diy How To Antique Wood

Diy Pyrography Pen And Tip For My Woodburning Wood Burning Pen Pyrography Wood Burning Tool

Diy Wood Burning How To Tips Project Patterns Wood Burning Techniques Wood Burning Crafts Wood Burning Stencils

Wood Burning Tips Wood Burning Crafts Wood Burning Patterns

Click For Woodburning Tips And Techniques For Beginners Make Your Own Wood Burning Signs And Spoons An Wood Burning Tips Wood Burning Crafts Wood Burning Art

Use A Wood Burning Tool To Create Intricate Stencil Patterns In Heavy Plastic Sheets Sure Beats The Heck Out Stencil Patterns Wood Burning Tool Crafty Craft

Next we marked out the door for the wood burning stove we wanted to make sure it was big enough to put a decent sized log on the fire so we didnt have to keep feeding it with twigs every 5 minutes.
How to make my own wood burning tool. In response to the many comments and questions I received on this project I have done anot. The longer you hold the wood burner on one spot the darker your design will be. Mark out the door for your stove.
Lay the sheet of mylar over your line art and retrace the pattern with a permanent marker creating lines for the various areas to be cut. Heat up your wood burner with the rounded tip screwed in. This will transfer some of the heat out of the tip.
You can also go over a design a few times to make it darker. Either technique works well. How to make a custom Branding Iron Logo for a standard wood burning tool.
After the wood burner is plugged in for about 5 minutes it has reached its maximum temperature which is actually too hot to put on paper. Do this in several places around the fish and note the locations on the paper. Then place a piece of carbon paper on the wood and set the paper with the design on top of the carbon paper.
When hot start burning in your design. Scissors utility knife x-acto knife etc. Youre going to need a few things to do this but its all pretty basic stuff.
Heres my journey to make my own on the cheap. Position your line art directly on the work surface. The freezer and place a piece of white wax paper wax side down on the skin surface and lightly rub the surface with a soft pencil to highlight the scale outlines.

Wood Burning Pyrography Kit Video In 2020 Pyrography Wood Burning Kits Wood Burning Tips

Pin On Plaid Craft Products

Pin On My Own Creations

Pin By Kelly Johnson On Fun Crafts By Kelly Wood Burning Patterns Wood Burning Crafts Wood Burning

My Mushroom Pyrography Woodburningprojects Wood Burning Patterns Stencil Wood Burning Art Wood Burning Patterns

Diy Wood Burned Coasters Melissa Voigt Wood Diy Diy Decor Crafts Wood Burning Patterns

Wood Burning Is The Art Of Carving Layouts And Images Into Bare Wood Making Use Of Warm And Also Is Wood Burning Art Wood Burning Patterns Wood Burning Crafts

Create The Look Of Wood Burning Using Easy To Use Scorch Pens Simple Tutorial Shows You How Th Wood Burning Techniques Wood Burning Art Wood Burning Stencils

Beginner Wood Burning Key Chain Project Darice Beginner Wood Burning Wood Burning Crafts Wood Projects For Beginners

Burn Baby Burn Wood Burning 101 Wood Burning Crafts Woodburning Diy Wood Burning Art

Wood Burning For Beginners Easy Guide In 2021 Beginner Wood Burning Wood Burning Art Wood Burning Crafts

Paid Link Wood Burning Ideas Is Such A Versatile Craft Once You Know The Basics Of Pyrography Y In 2021 Wood Burning Patterns Wood Burn Designs Wood Burning Crafts
5 Best Essential Woodburning Tips And Tricks Wood Burning Tips Wood Burning Techniques Wood Burning Tool
