
How To Carve Candle Wax
How Hand Carved Candles Are Made Youtube Candle Carving Hand Carved Candles Candles

How To Carve A Candle With Angel Candle Carving Candles Carving

Candle Candle Carving Homemade Candles Candle Carving Diy
Carved Candles How It S Made Youtube Candle Carving Candle Wax Scents Candles

Home Bloom Candle Art Candle Carving Candles

German Carved Wax Candle It Takes A Year Of Apprenticeship To Make Carvings Like This And The Entire Hand Made Piece Must Be Candle Carving Candles Candle Art

Candle tunneling can occur in any candle regardless of the quality or type of wax but it is more likely to happen with cheap candles.
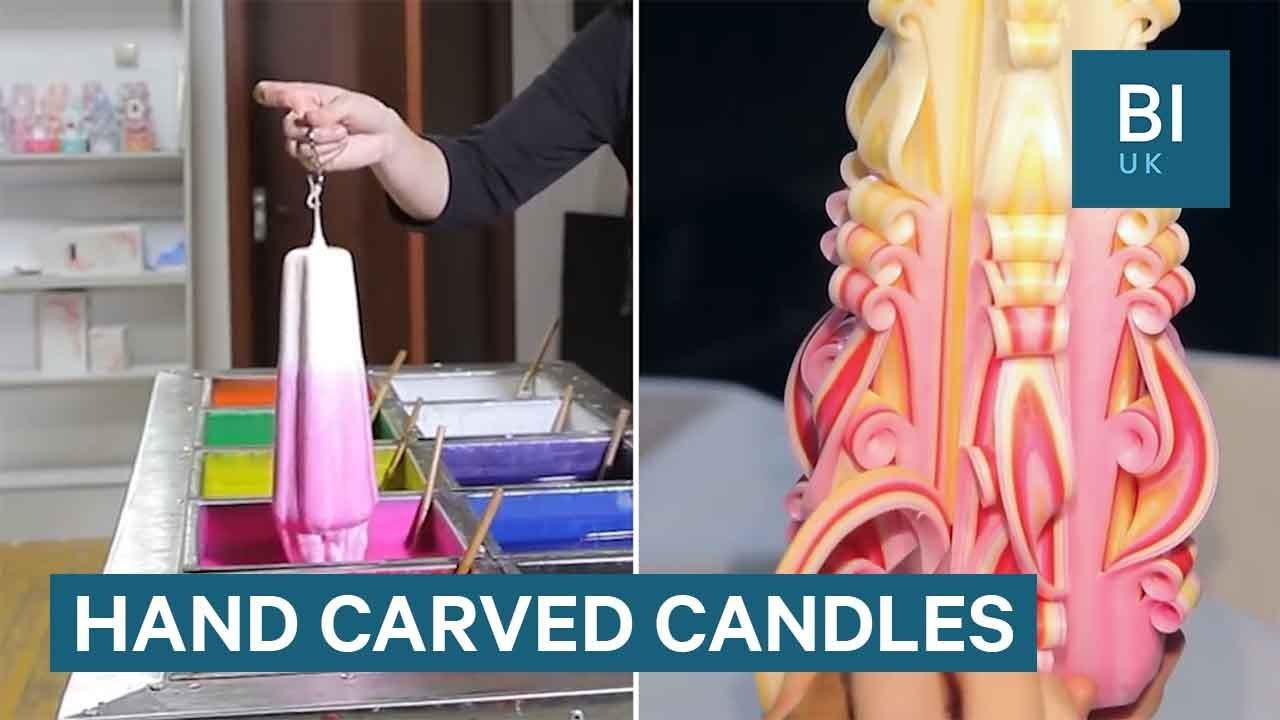
How to carve candle wax. After each layer dip the candle into cold water. After adding layers and layers of colored wax its almost time to carve out the beautiful designs. Focus all your positive energy into the intention you want to imprint into the candle.
Normal candle has anywhere from 20 to 30 layers of wax. Then the candle carver dips the candle into various waxes that have been colored with specially formulated dyes. Candle tunneling occurs when only the center of the wax right around the wick melts and burns down.
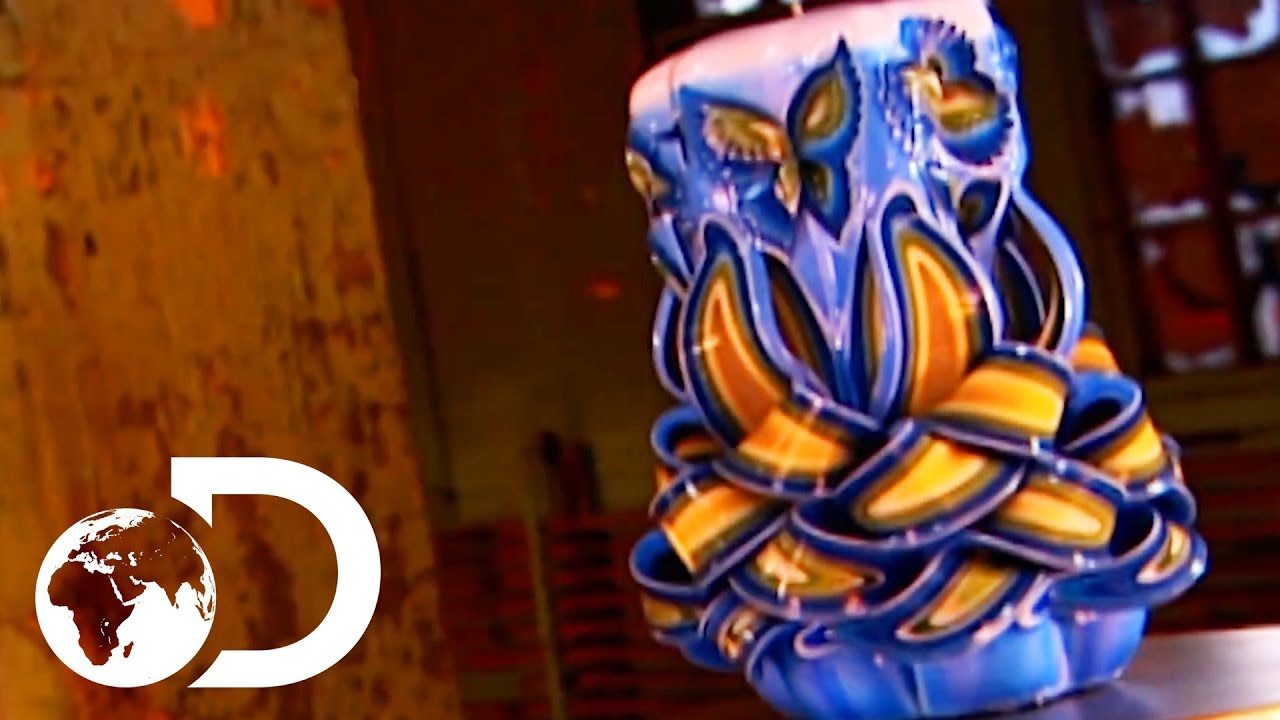
You have almost exactly seven minutes before the wax is too cold to carve. The candles you carve will be treasured for their permanent beauty because they burn candle oil and not the wax of the candle itself. The whole process begins with a six-pointed candle base.
But seven minutes is a long time. 086 is merely an average. The more wax you have the more round the star becomes and harder to carve.
Determine your total fragrance load. The less wax you have the less blankets of heat you have to keep your candle warm as your carving. Make sure to buy a scale before starting.
Bend the smaller cuts down and under. I use my hand to wipe them off. You start you first cut almost halfway up the candle and coming down to about two inches from the base and pull that layer down.

Baby Boy Carved Candle Gift Carved Candle Great Gift Idea Carved Wax Candle Flower Candle By Little Candle Carving Homemade Natural Candles Homemade Candles

Christmas Is Closer Carved Candles By Fairy Candles Hand Carved Candles Fairy Candles Homemade Candles

Pin On Fashion Forward

Pin By Ashley Tomasini On Two Ladies And A Bunny Carved Candles Hand Carved Candles Fancy Candles Candle Art

Pin Na Nastence Svetylka

Lyseblatt Svechki Izgotovlenie Svechej Svecha

Pin On The Etsy Mini Viral Mall

Carved Candle Blue And White Candle Carving Beautiful Candles Candle Art

Taper Candles Candle Set By Primacandle 17 Candle Carving Handmade Candles Hand Carved Candles
Hand Carved Candle Turquoise And White Double Bow Carve 7 Inch Hand Carved Candles Candle Carving Candles

Pin On Cut Curl Candles

Carved Candle Red And White With Soy Wax Interior In Design Double Bows 6 Www Etsy Com Au Shop Fadingtraces Velas Velas Decoradas Navidad

Her Renk Ve Tasarimda El Oymasi Mumlar Her Yere Kargolanir By Mumartmum Candle Art Candle Carving Beautiful Candles
