
How Do You Make A Homemade Table Saw
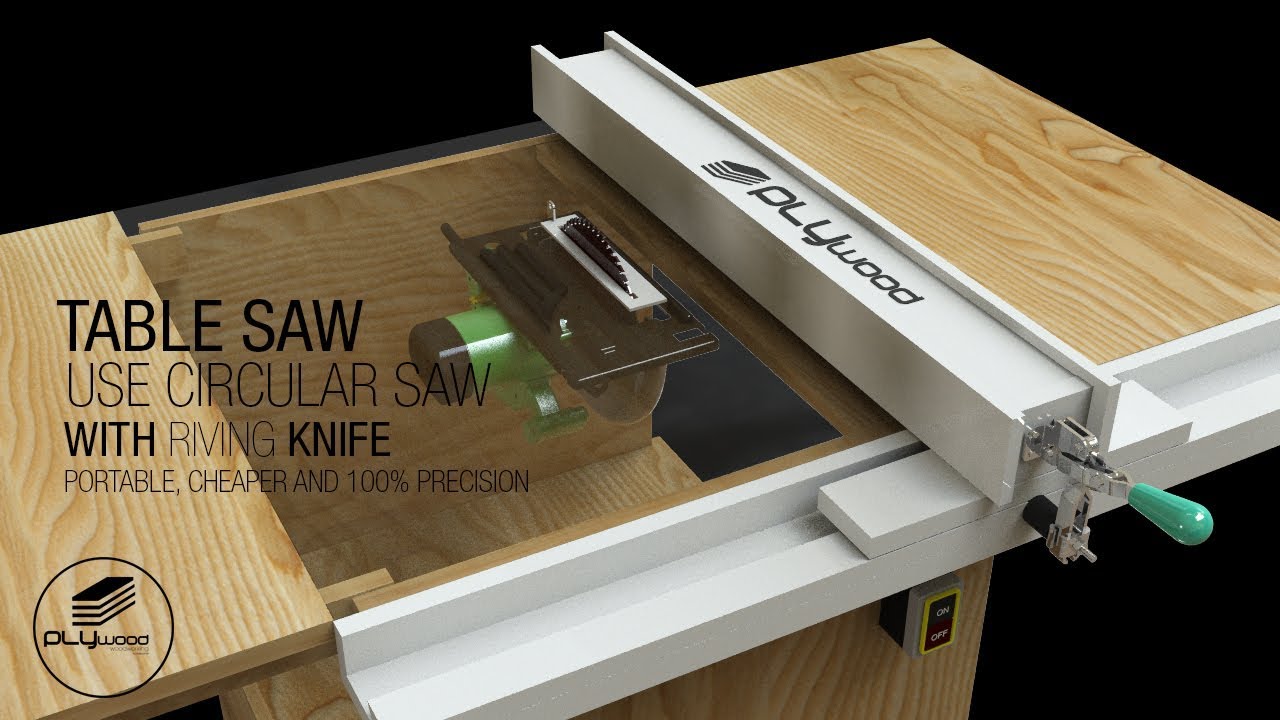
Diy Table Saw Portable How To Make A Homemade Table Saw With Spliter Riving Knife Use Circular Saw Youtube Diy Table Saw Homemade Tables Table Saw

Homemade Table Saw How To Make Compressed Vid Diy Do It Yourself Homemade Tables Table Saw Diy

How To Make A Table Saw Fence For Homemade Table Saw Diy Table Saw Fence Table Saw Fence Home Made Table Saw

Pin On S D V Saw Router Lathe

New Diy Circular Table Saw Orama Product Development Circular Saw Table Diy Table Saw Table Saw
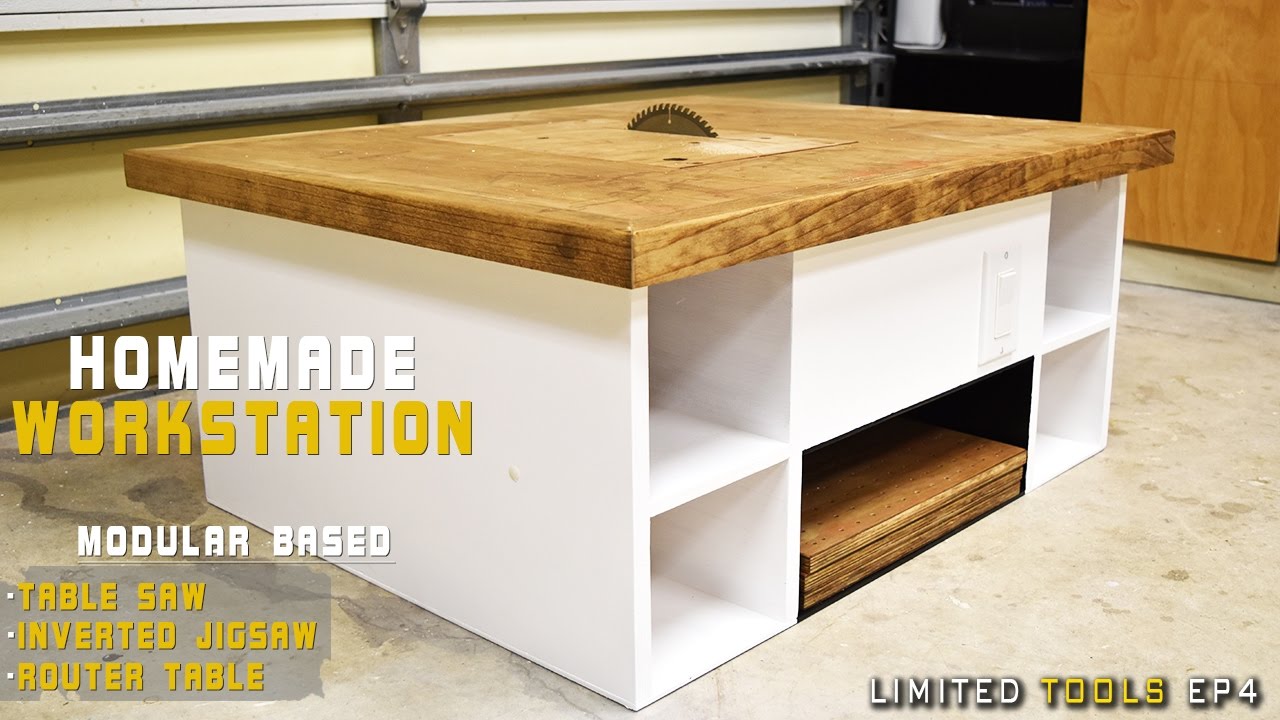
Building 4 In 1 Workshop Homemade Table Saw Router Table Disc Sander Jigsaw Table Youtube Homemade Tables Table Saw Modular Workstations
How to make a table saw push stick A piece of red cedar was thinly cut on both sides exposing the inside wood.
How do you make a homemade table saw. You will need the following materials to build your table saw fence. Cut out the notch then carve out the cardboard webbing and glue in blocking to make the openings solid. Materials needed for DIY table saw stand Two sheets of ¾ plywood Half sheet 48 x 48 of ¾ melamine You can also use ¾ plywood for the top but melamine slides better.
To ensure you have the correct dimensions for your table saw fence you will need to determine the depth of your table saw. Measure the Dimensions of your Table Saw. Before cutting notches set your saw depth and make a test cut to check the depth.
Wood screws 50mm and 16mm with flat head. Cut out thin strips of plywood with a sharp chisel and smooth the bottom of the notch with a file. Screw a block to a sawhorse and clamp the sides A precisely together to hold the parts upright and cut.
Drill a guide hole into an end cap so that the pole pass through the cap. Melamine plywood or other board for table top and legs. Then screw it for fitting with the base.
Screw aluminum angle to the edge of the opening placing its lip so the table saw surface will be even with the door tops. For this project you will need. A plastic push stick was placed on top of the cedar then traced with a pencil.
Tape measure 1 24 longer than your table saw depth Wood screws 4 3 deck screws 1 screw-threaded rod with accompanying nut. Measure first with the fence of the saw on the table. You would find all the necessary materials listed in the written version of the tutorial.

Making A Homemade Table Saw Part 2 Homemade Tables Table Saw Fence Diy Table Saw Fence

Pin On Circular Saw

Building 4 In 1 Workshop Homemade Table Saw Router Table Disc Sander Jigsaw Table Youtube Homemade Tables Homemade Tools Diy Table Saw

75 Reference Of Table Saw Bench Guide Woodworking Jigs Panel Saw Woodworking

Homemade Table Saw Fence System Easy Simple New Style 25 Steps With Pictures Diy Table Saw Diy Table Saw Fence Table Saw Fence


Diy Table Saw Portable Easy Use Stanley Upgrade Modification Part 1 Youtube Diy Table Saw Diy Table Saw Fence Table Saw

Pin On Woodworking

Diy Table Saw Cart Free Plans Build A Table Diy Table Saw Diy Table

Tumblr Diy Table Saw Woodworking Ideas Table Circular Saw Table

Image Result For Diy Table Saw Fence Plans Diy Table Saw Fence Table Saw Fence Diy Table Saw
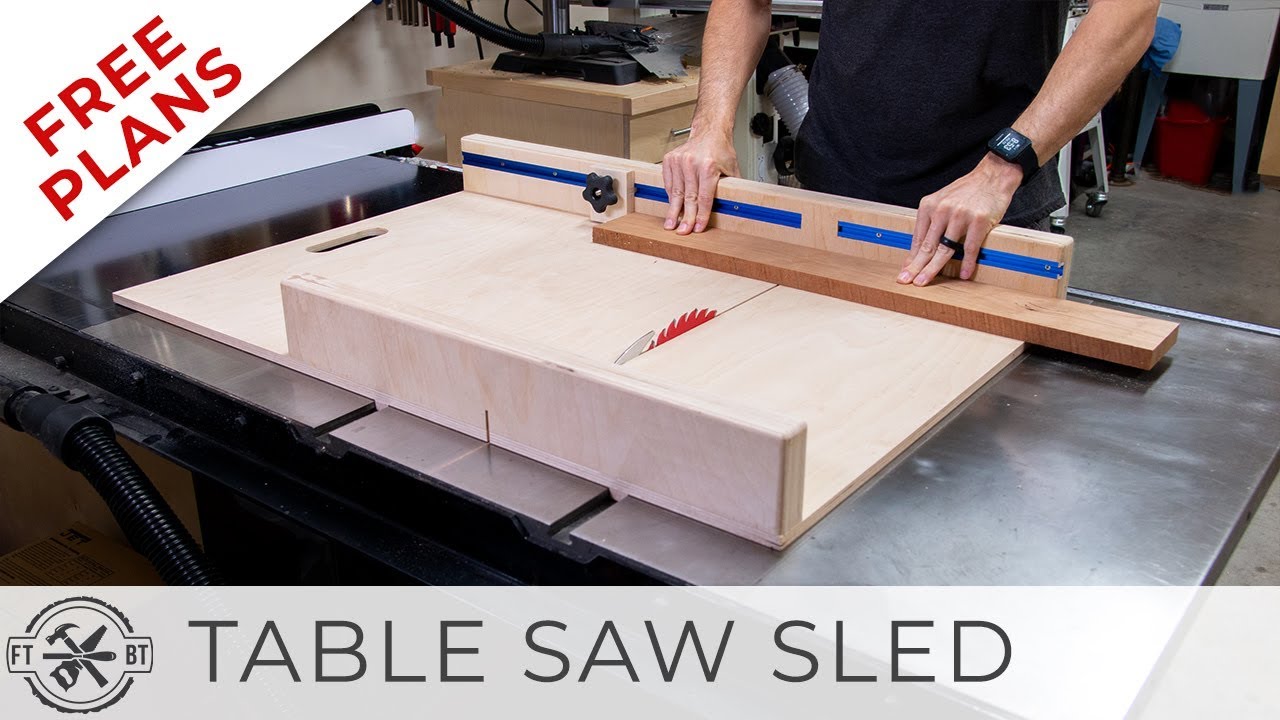
How To Make A Crosscut Table Saw Sled With A Stop Block Free Plans And Full Video Tutorial Make This Table Saw Sled Diy Table Saw Table Saw Crosscut Sled

How To Make A Powerful Table Saw At Home Youtube Table Saw Table Saws Best Circular Saw
